
Composite Filling Placement
Master the artistry of posterior restorations using high-fidelity XR simulation. Practice multi-layering techniques and precision curing in a risk-free digital operatory.
Procedural Protocol
-
01
Matrix and Retraction Cord Placement
Depending on the selected cavity, position the appropriate matrix and/or retraction cord to define the working area and support controlled composite placement.
-
02
Composite Placement
Apply the composite gradually inside the prepared cavity, focusing on controlled placement and even coverage.
-
03
Shaping and Evaluation
Shape the restoration to recreate the tooth’s natural anatomy, then review overfilling, gaps, and occlusal accuracy in the final results.
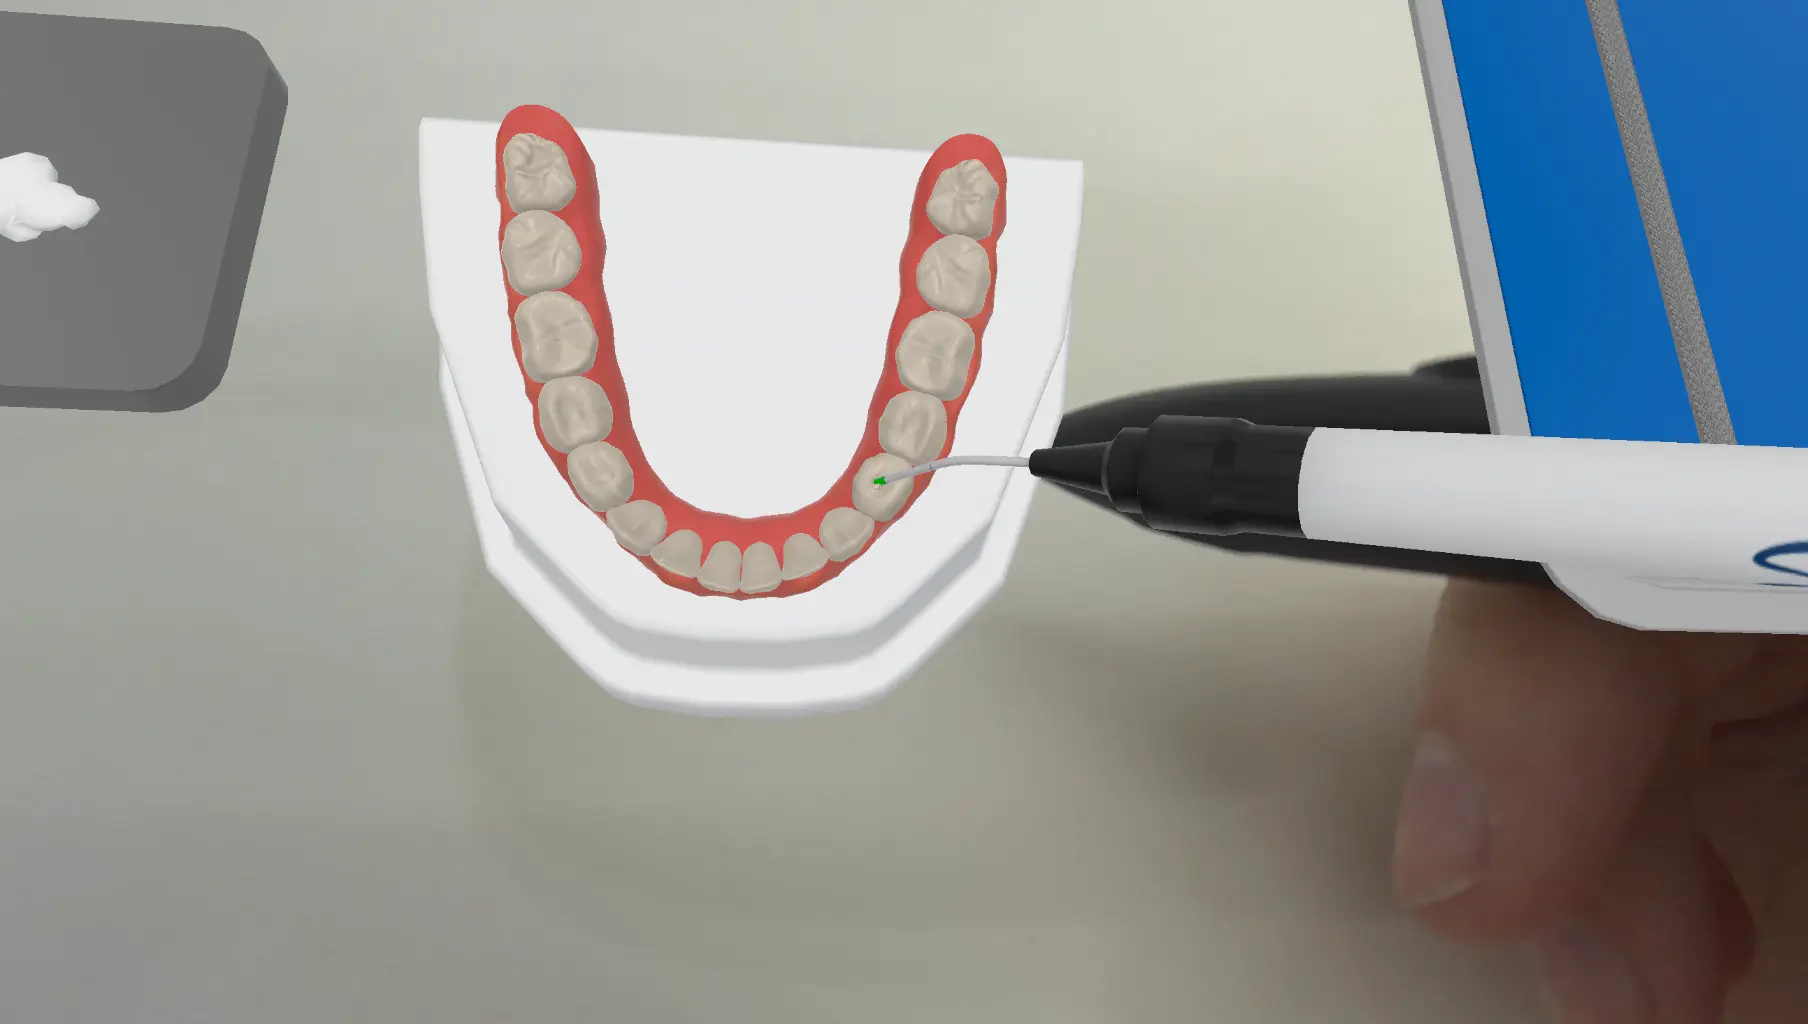
Complete Composite Workflow
Practice the filling process from start to finish, including matrix or retraction cord placement when required, controlled composite application, and final shaping of the restoration.
- Composite Placement
- Anatomical Shaping
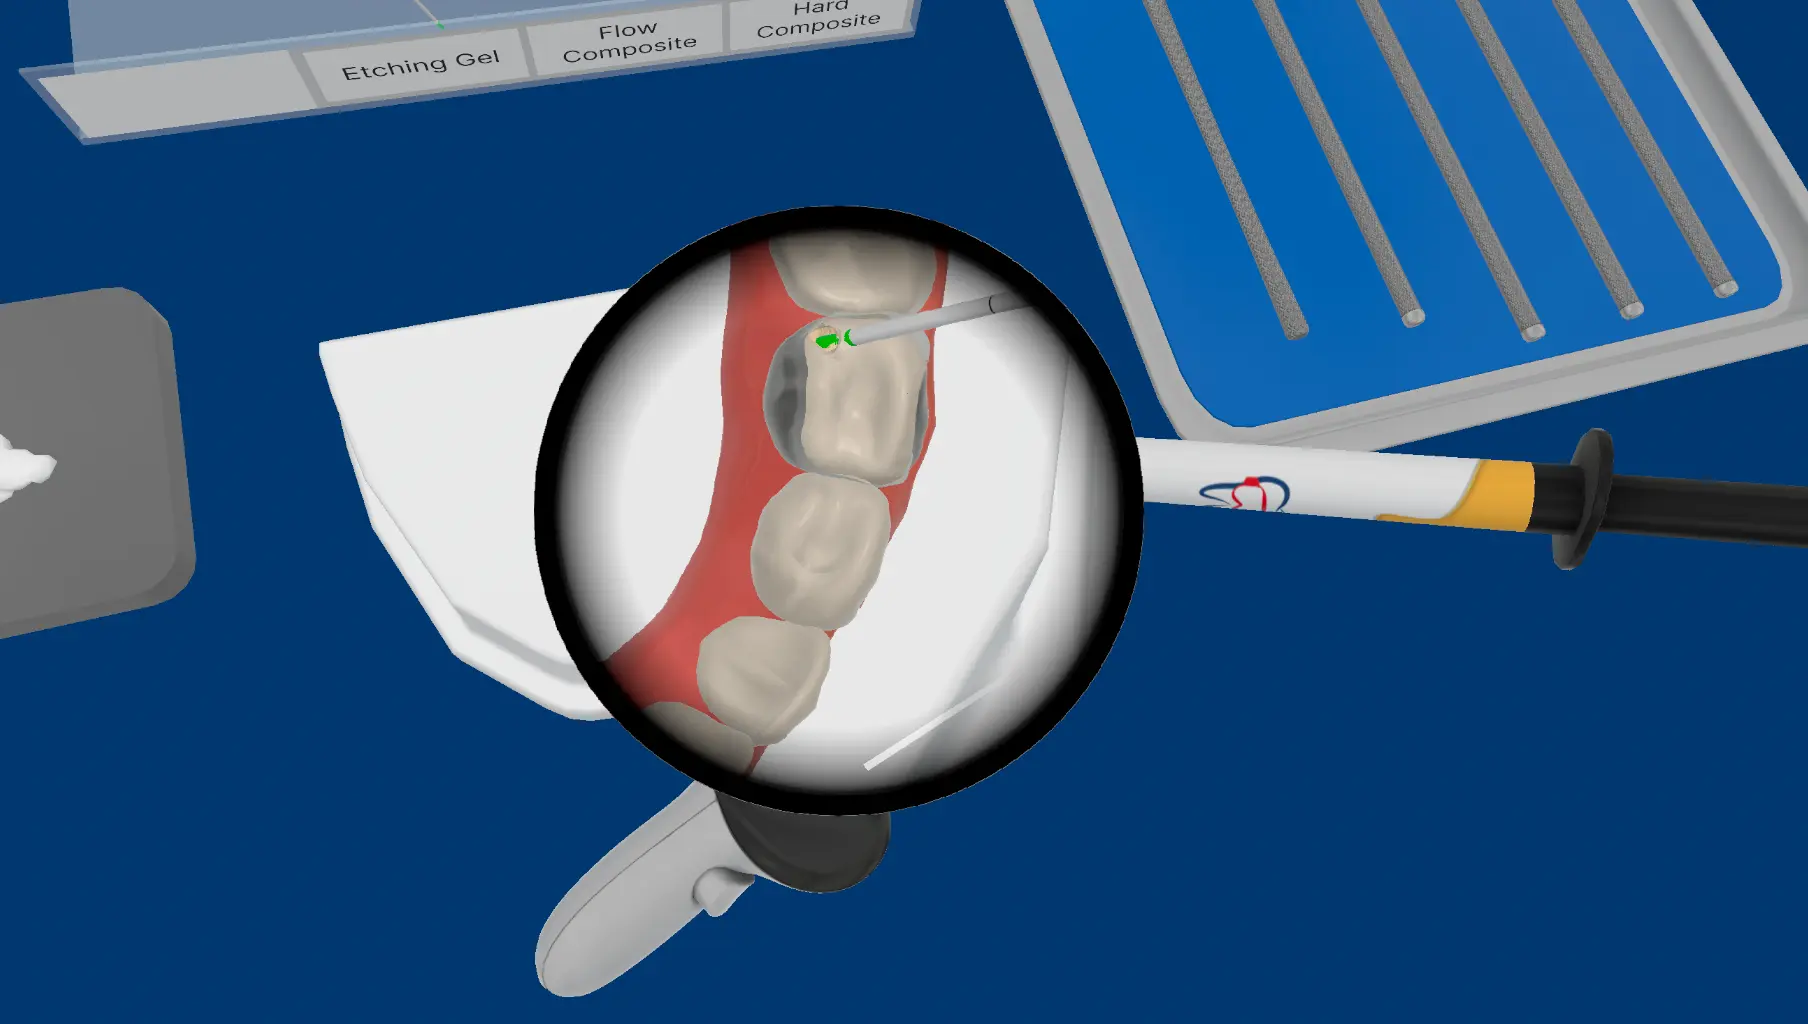
Matrices & Retraction Cords
Select and position the appropriate matrix or retraction cord based on the cavity type. These tools help define the working area, support controlled composite placement, and improve access around the restoration margin.
- Matrix Placement
- Retraction Cord Placement